Peri Peri Chicken & Garlic Rice Bowl in Ninja Speedi

Servings: 4 Total Time: 30 mins Difficulty: Beginner

Affiliate Disclosure: easyrecipes.pro is a participant in the Amazon Services LLC Associates Program. i.e., when you buy any product using the links below, we get commissions. but it doesn’t cost you anything extra. If you do purchase any product using the given links, we thank you in advance!

Spicy Portuguese-Inspired Chicken with Aromatic Rice
Peri Peri Chicken & Garlic Rice Bowl in Ninja Speedi pinit
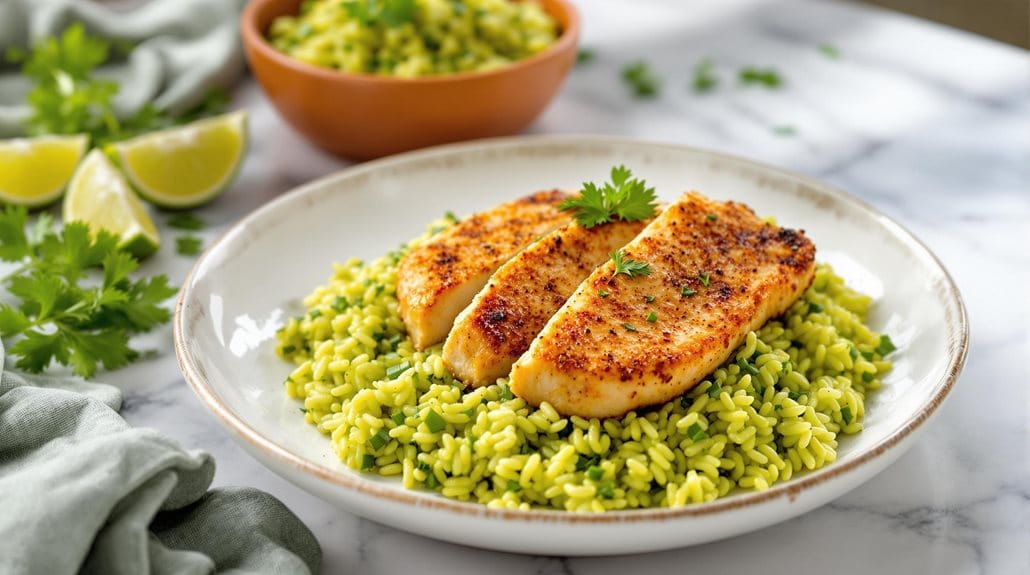
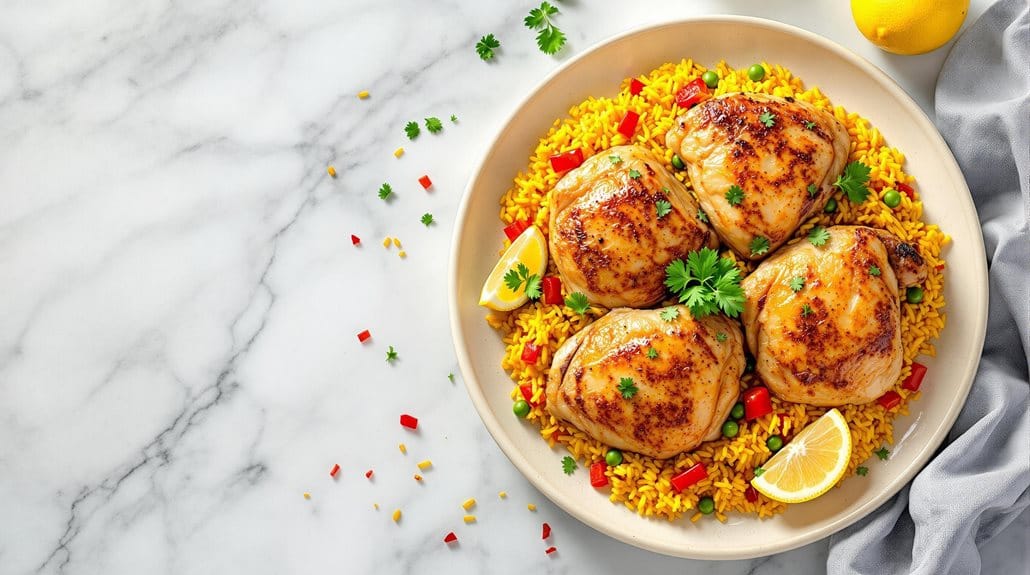
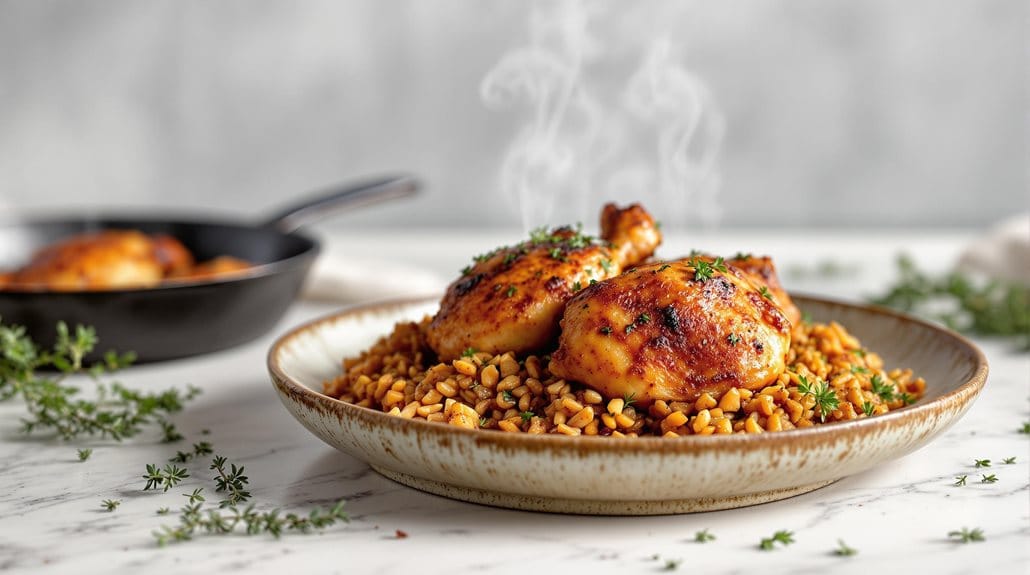
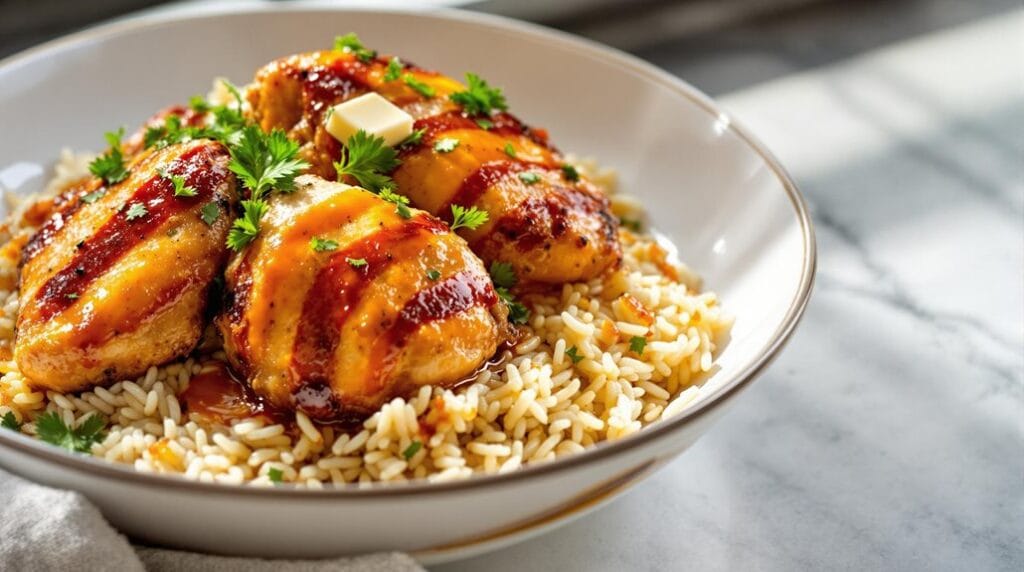
This vibrant Peri Peri Chicken & Garlic Rice Bowl delivers restaurant-quality flavour in a single pot using the Ninja Speedi’s unique dual-cooking zones. Perfect for busy weeknights when you want a flavoursome meal without extensive cleanup, this bowl combines aromatic garlic rice with perfectly seasoned, tender chicken. For the most authentic peri peri flavour, allow the chicken to marinate in the sauce for at least 30 minutes before cooking.
Peri Peri Chicken & Garlic Rice Bowl in Ninja Speedi - Ingredients laid out ready for cooking
Peri Peri Chicken & Garlic Rice Bowl in Ninja Speedi pinit
0 Add to Favorites

Peri Peri Chicken & Garlic Rice Bowl in Ninja Speedi

Difficulty: Beginner Prep Time 15 mins Cook Time 15 mins Total Time 30 mins
Cooking Temp: 200  C Servings: 4
Best Season: Suitable throughout the year

Description

This vibrant one-pot meal combines the bold flavours of peri peri sauce with succulent chicken pieces, served over fragrant garlic rice.

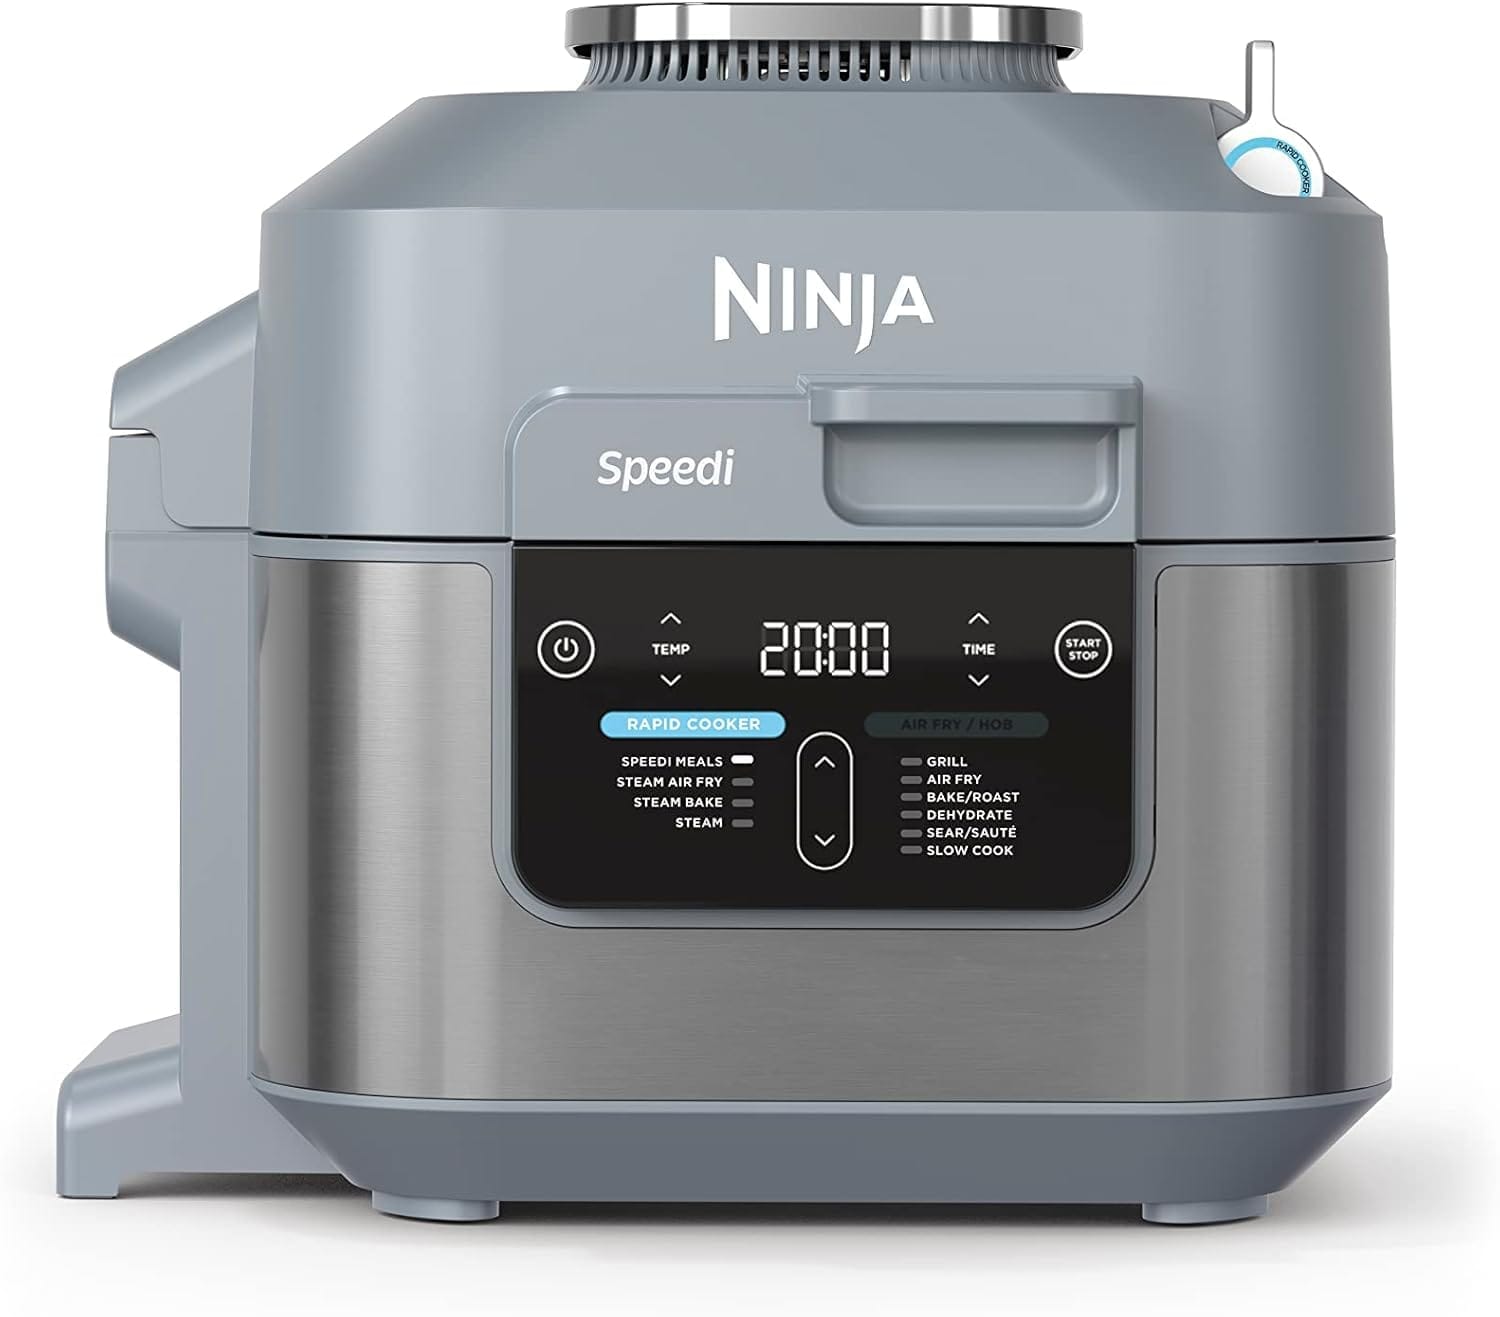
The Ninja Speedi's unique dual-cooking capability allows the rice to steam while the chicken crisps to perfection.

The dish offers a perfect balance of heat and savoury notes, with the garlic rice providing a comforting base that soaks up all the delicious cooking juices.
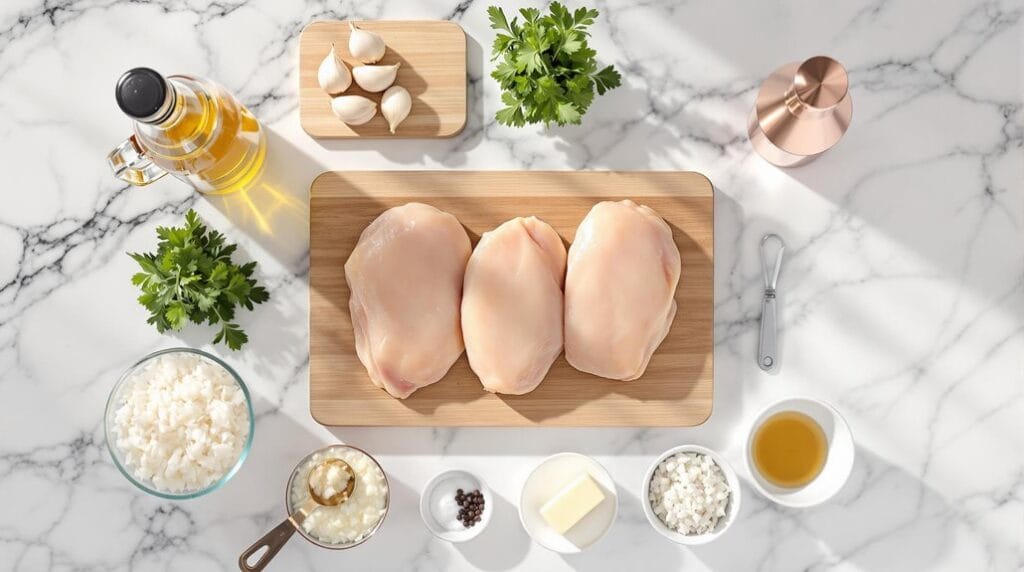
Ingredients

Cooking Mode Disabled

Instructions

Bottom Pot:

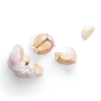
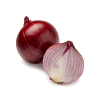
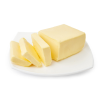
  1. Combine rice, chicken stock, minced garlic, diced onion, butter, and half the salt in the bottom pot.
  2. Stir well to combine all ingredients.
  3. Crisping Tray:

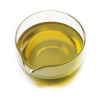
Mix peri peri sauce with olive oil in a bowl.

  1. Season chicken thighs with remaining salt and pepper.
  2. Coat chicken pieces thoroughly with peri peri mixture.
  3. Place chicken skin-side up on the crisping tray.

Cooking:

  1. Insert bottom pot with rice mixture.
  2. Position crisping tray with chicken above.
  3. Close lid and select Speedi Meals function.
  4. Set temperature to 200°C/390°F and timer for 20 minutes.
  5. Once complete, let rest for 5 minutes.
  6. Fluff rice with fork and garnish with parsley.
  7. Serve chicken pieces over rice.

Equipment

Affiliate Disclosure: easyrecipes.pro is a participant in the Amazon Services LLC Associates Program. i.e., when you buy any product using the links below, we get commissions. but it doesn’t cost you anything extra. If you do purchase any product using the given links, we thank you in advance!

Nutrition Facts

Servings 4


Amount Per Serving
Calories 875.93kcal
% Daily Value *
Total Fat 46.73g72%
Saturated Fat 13.81g70%
Trans Fat 0.16g
Cholesterol 208.2mg70%
Sodium 927.22mg39%
Potassium 688mg20%
Total Carbohydrate 69.22g24%
Dietary Fiber 1.72g7%
Sugars 3.47g
Protein 41.07g83%

Vitamin A 102.31 IU
Vitamin C 6.02 mg
Calcium 57.29 mg
Iron 5.12 mg
Vitamin D 0.19 IU
Vitamin E 1.7 IU
Vitamin K 40.93 mcg
Thiamin 0.64 mg
Riboflavin 0.44 mg
Niacin 14.15 mg
Vitamin B6 0.94 mg
Folate 27.32 mcg
Vitamin B12 1.2 mcg
Phosphorus 440.52 mg
Magnesium 64.16 mg
Zinc 3.6 mg

* Percent Daily Values are based on a 2,000 calorie diet. Your daily value may be higher or lower depending on your calorie needs.

Note

Tips: For extra flavour, marinate the chicken in the peri peri mixture for 2-4 hours before cooking.

Adjust the amount of peri peri sauce according to your heat preference.

If the rice seems too wet after cooking, leave it uncovered for 5 minutes to allow excess moisture to evaporate.

For crispier chicken skin, pat the chicken dry before applying the marinade.

Perfectly Crispy Skin Success

Achieving perfectly crispy chicken skin requires a few essential techniques when preparing this peri peri dish. First, you'll want to pat the chicken skin completely dry with paper towels before seasoning, as excess moisture is the enemy of crispiness.

Don't skip this step - it's a game-changer for that golden-brown finish you're after.

When you're ready to cook, make sure to place the chicken skin-side up in your Ninja Speedi. The rapid air flow technology will work its magic, but you can help it along by lightly brushing the skin with a thin layer of oil before cooking.

You'll notice the skin starting to turn golden around the 15-minute mark - that's when you know things are going right.

Here's a pro tip: resist the urge to flip the chicken too often. Let it do its thing! If you find the skin browning too quickly, you can adjust the temperature down slightly.

When it's done, you should hear that satisfying crackle when you tap the skin with your tongs - that's the sound of success.

Conclusion

You'll find that mastering this peri peri chicken and garlic rice bowl in your Ninja Speedi brings together centuries of Portuguese and African culinary traditions right in your kitchen. Whether you're drawn to the spicy kick of the marinade or the aromatic garlic rice, this dish delivers restaurant-quality results. With these techniques for achieving perfectly crispy skin and fluffy rice, you're all set to create a memorable meal.

Did you make this recipe?

Follow @easyrecipes.pro on Instagram for more recipes.

Pin this recipe to share with your friends and followers.

pinit
Nick-Jolliffe

Nick Jolliffe

Home Cook, Foodie, and Recipe Tinkerer

Nick Jolliffe is a self-proclaimed food enthusiast who loves nothing more than experimenting with new flavours and ingredients at home. With a passion for cooking that borders on obsession, Nick is always on the lookout for inspiration to create delicious, mouth-watering dishes to share with friends and family. When he's not busy scouring cookbooks or browsing food blogs, you can find him whipping up a storm in his kitchen, always eager to try out new recipes and techniques.

Rate this recipe

Your email address will not be published. Required fields are marked *

Add a question

Your email address will not be published. Required fields are marked *

This error message is only visible to WordPress admins

Error: No feed found.

Please go to the Instagram Feed settings page to create a feed.

0 Add to Favorites
Min
0 Add to Favorites

Share it on your social network